Embroidery is a timeless art form that can add a touch of elegance and personalization to any piece of clothing or accessory. Whether you want to add your initials to a jacket or create a unique design on a tote bag, embroidery on clothing and accessories is a versatile technique that can be used on a variety of fabrics and materials. In this guide, we’ll walk you through the steps of adding embroidery to clothing and accessories.
Choosing Your Design
The first step in adding embroidery to your clothing or accessories is to choose a design. This can be a pre-made design that you purchase online or create yourself. If you’re new to embroidery, it’s a good idea to start with a simple design, such as a monogram or basic shape. As you become more comfortable with the technique, you can experiment with more complex designs.
Preparing Your Fabric
Before you begin embroidering, it’s important to prepare your fabric. This involves washing and ironing the fabric to ensure that it’s clean and free of wrinkles. If you’re working with a delicate fabric, such as silk or chiffon, you may want to use a stabilizer to prevent the fabric from stretching or puckering during the embroidery process.
Choosing Your Thread
Once you have your design and fabric prepared, it’s time to choose your thread. Embroidery thread and supplies come in a variety of colors and textures, so you can choose the one that best matches your design and fabric. You may also want to consider using a metallic or variegated thread to add a unique touch to your embroidery.
Transferring Your Design
Before you can begin embroidering, you’ll need to transfer your design onto the fabric. This can be done by tracing the design onto the fabric with a fabric pen or pencil, or by using a transfer paper or embroidery transfer pen. Be sure to transfer the design accurately to ensure that your embroidery turns out just as you envision it.
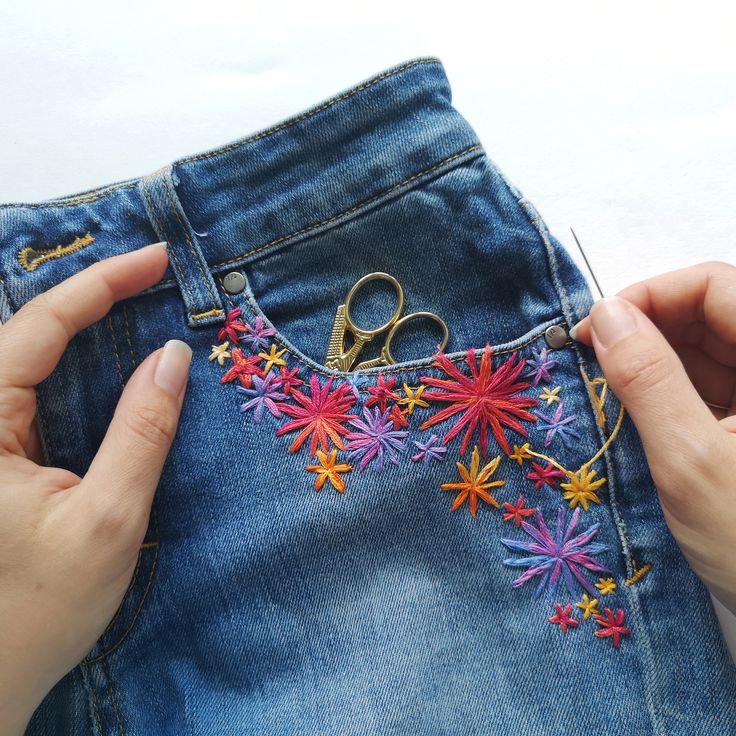
Embroidering Your Design
Now it’s time to begin embroidering! Start by threading your needle and tying a knot at the end of the thread. Then, begin stitching your design using the appropriate embroidery stitch. There are many different embroidery stitches to choose from, including the backstitch, satin stitch, and French knot. Experiment with different stitches to create a unique look for your embroidery.
Finishing Your Embroidery
Once you’ve completed your embroidery, it’s time to finish it off. Trim any loose threads and remove any stabilizer that you may have used. If you’re embroidering on a piece of clothing or accessory, you may also want to use a fabric glue or adhesive to ensure that the embroidery stays in place.